My last few posts have been about applying machine learning to try to extract geographic objects in LiDAR. I think now I would like to go in another direction and talk about ways to help us find anything in LiDAR. There is a lot of information in LiDAR, and sometimes it would be nice to have a computer help us to find areas we need to examine.
In this case I’m not necessarily just talking about machine learning. Instead, I am discussing algorithms that can examine an image and identify areas that have something “interesting” in them. Basically, trying to perform object detection without necessarily determining the object’s identity.
For the next few posts, I think I’ll talk about:
- Selective Search from OpenCV
- Image Saliency Detection
- Segment Everything from Facebook
- Others as I have time to talk about them.
I have a GitHub repository where I’ll stick code that I’m using for this series.
Selective Search (OpenCV)
This first post will talk about selective search, in this specific case, selective search from OpenCV. Selective search is a segmentation technique used to identify potential regions in an image that might contain objects. In the context of object detection, it can help to quickly narrow down areas of interest before running more complex algorithms. It performs:
- Segmentation of the Image: The first step in selective search is to segment the image into multiple small segments or regions. This is typically done using a graph-based segmentation method. The idea is to group pixels together that have similar attributes such as color, texture, size, and shape.
- Hierarchical Grouping: After the initial segmentation, selective search employs a hierarchical grouping strategy to merge these small regions into larger ones. It uses a variety of measures to decide which regions to merge, such as color similarity, texture similarity, size similarity, and shape compatibility between the regions. This process is repeated iteratively, resulting in a hierarchical grouping of regions from small to large.
- Generating Region Proposals: From this hierarchy of regions, selective search generates region proposals. These proposals are essentially bounding boxes of areas that might contain objects.
- Selecting Between Speed and Quality: Selective search allows for configuration between different modes that trade off between speed and the quality (or thoroughness) of the region proposals. “Fast” mode, for example, might be useful in cases of real-time segmentation in videos. “Quality” is used when processing speed is less important than accuracy.
Additionally. OpenCV allows you to apply various “strategies” to modify the region merging and proposal process. These strategies are:
- Color Strategy: This strategy uses the similarity in color to merge regions. The color similarity is typically measured using histograms of the regions. Regions with similar colors are more likely to be merged under this strategy. This is useful in images where color is a strong indicator of distinct objects.
- Texture Strategy: Texture strategy focuses on the texture of the regions. Textures are usually analyzed using local binary patterns or gradient orientations, and regions with similar texture patterns are merged. This strategy is particularly useful in images where texture provides significant information about the objects, such as in natural scenes.
- Size Strategy: The size strategy prioritizes merging smaller regions into bigger ones. The idea is to prevent over-segmentation by reducing the number of very small, likely insignificant regions. This strategy tries to control the sizes of the region proposals, balancing between small regions with no areas of interest to large areas that contain multiple areas of interest.
- Fill Strategy: This strategy considers how well a region fits within its bounding box. It merges regions that together can better fill a bounding box, minimizing the amount of empty space. The fill strategy is effective in creating more coherent region proposals, especially for objects that are close to being rectangular or square.
Selective Search in Action
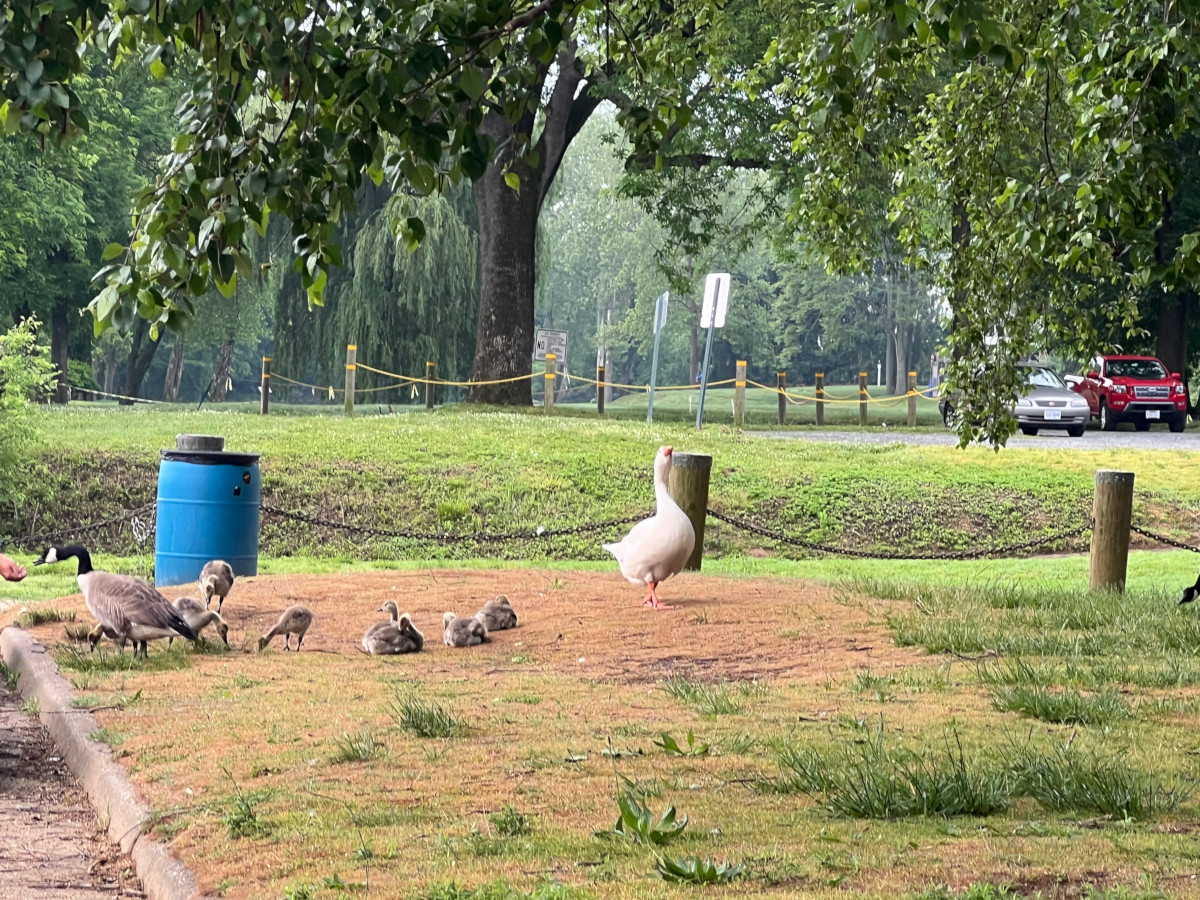
Now let us take a look at how selective search works. This image is of a local celebrity called Gary the Goose. To follow along, see the selective_search.py code under the selective_search directory in the above GitHub repository.
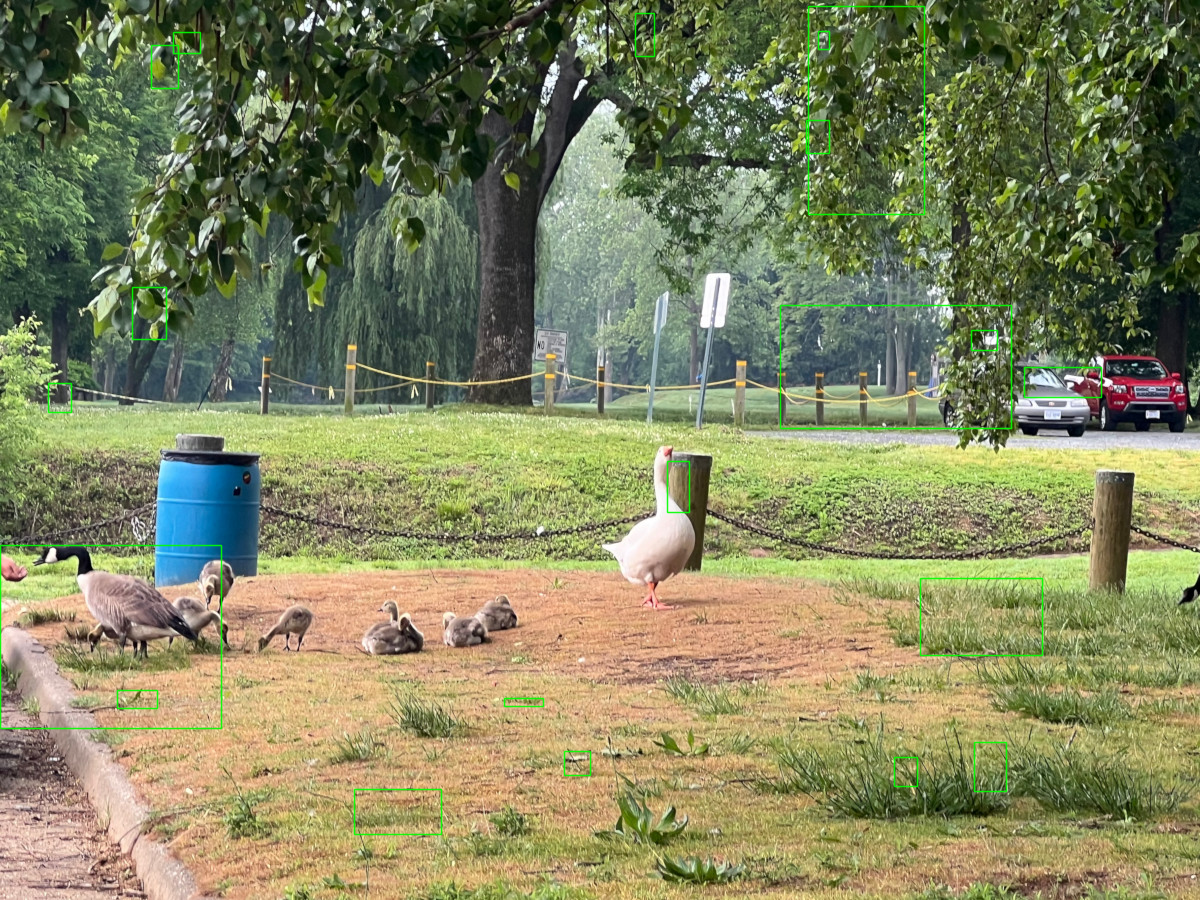
Now let us see how selective search worked on this image:

For this run, selective search was set to quality mode and had all of the strategies applied to it. As you can see, it found some areas of interest. It got some of the geese, a street sign, and part of a truck. But it did not get everything, including the star of the picture. Now let us try it again, but without applying any of the strategies (comment out line 95).
Here we see it did about the same. Got closer to the large white goose, but still seems to not have picked up a lot in the image.
Selective Search on LiDAR
Now let us try it on a small LiDAR segment. Here is the sample of a townhome neighborhood.

And here is the best result I could get after running selective search:
As you can see, it did “ok”. It identified a few areas, but did not pick up on the houses or the small creeks that run through the neighborhood.
Selective Search on a Hill Shade
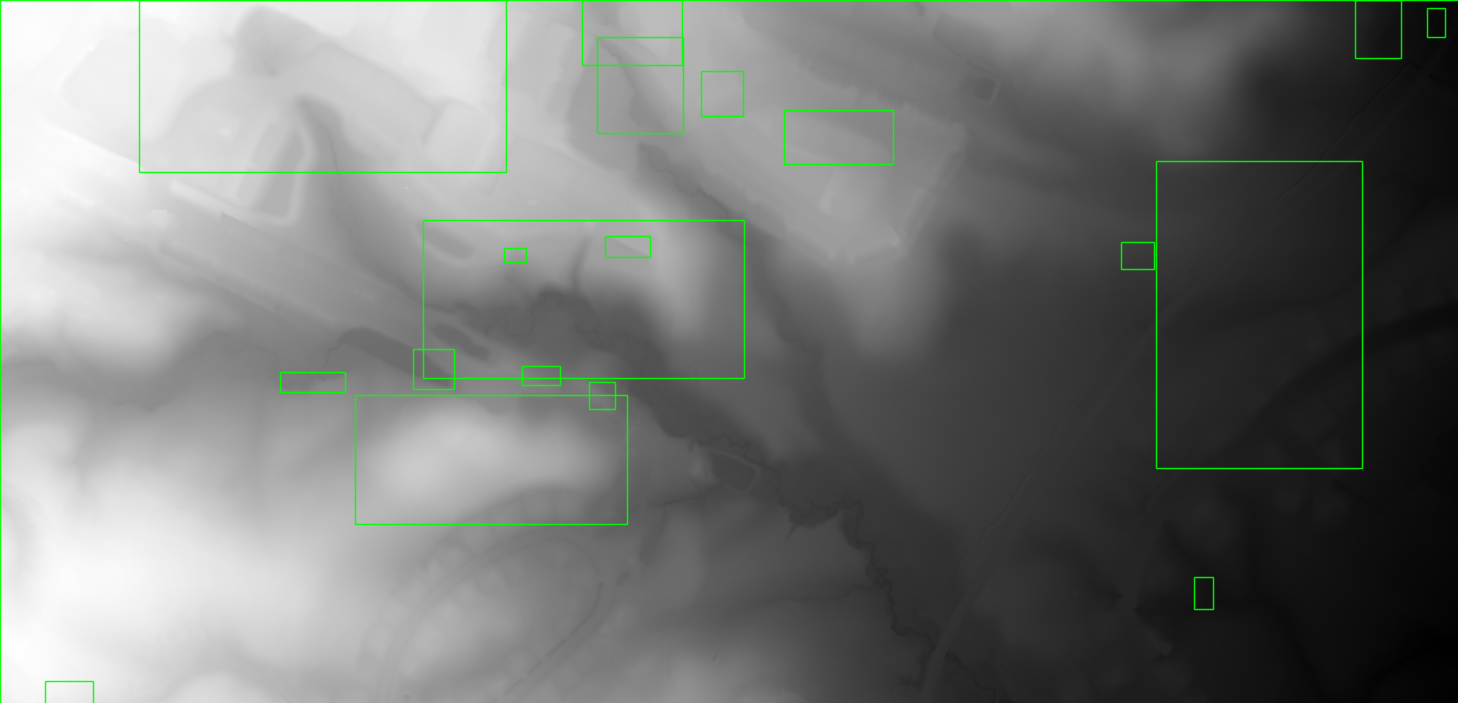
Can we do better? Let us first save the same area as a hillshade GeoTIFF. Here we take the raw image and apply rendering techniques that simulate how light and shadows would interact with the three dimensional surface, making topographic features in the image easier to see. You can click some of the links to learn more about it. Here is the same area where I used QGIS to create and export a hill shade image.
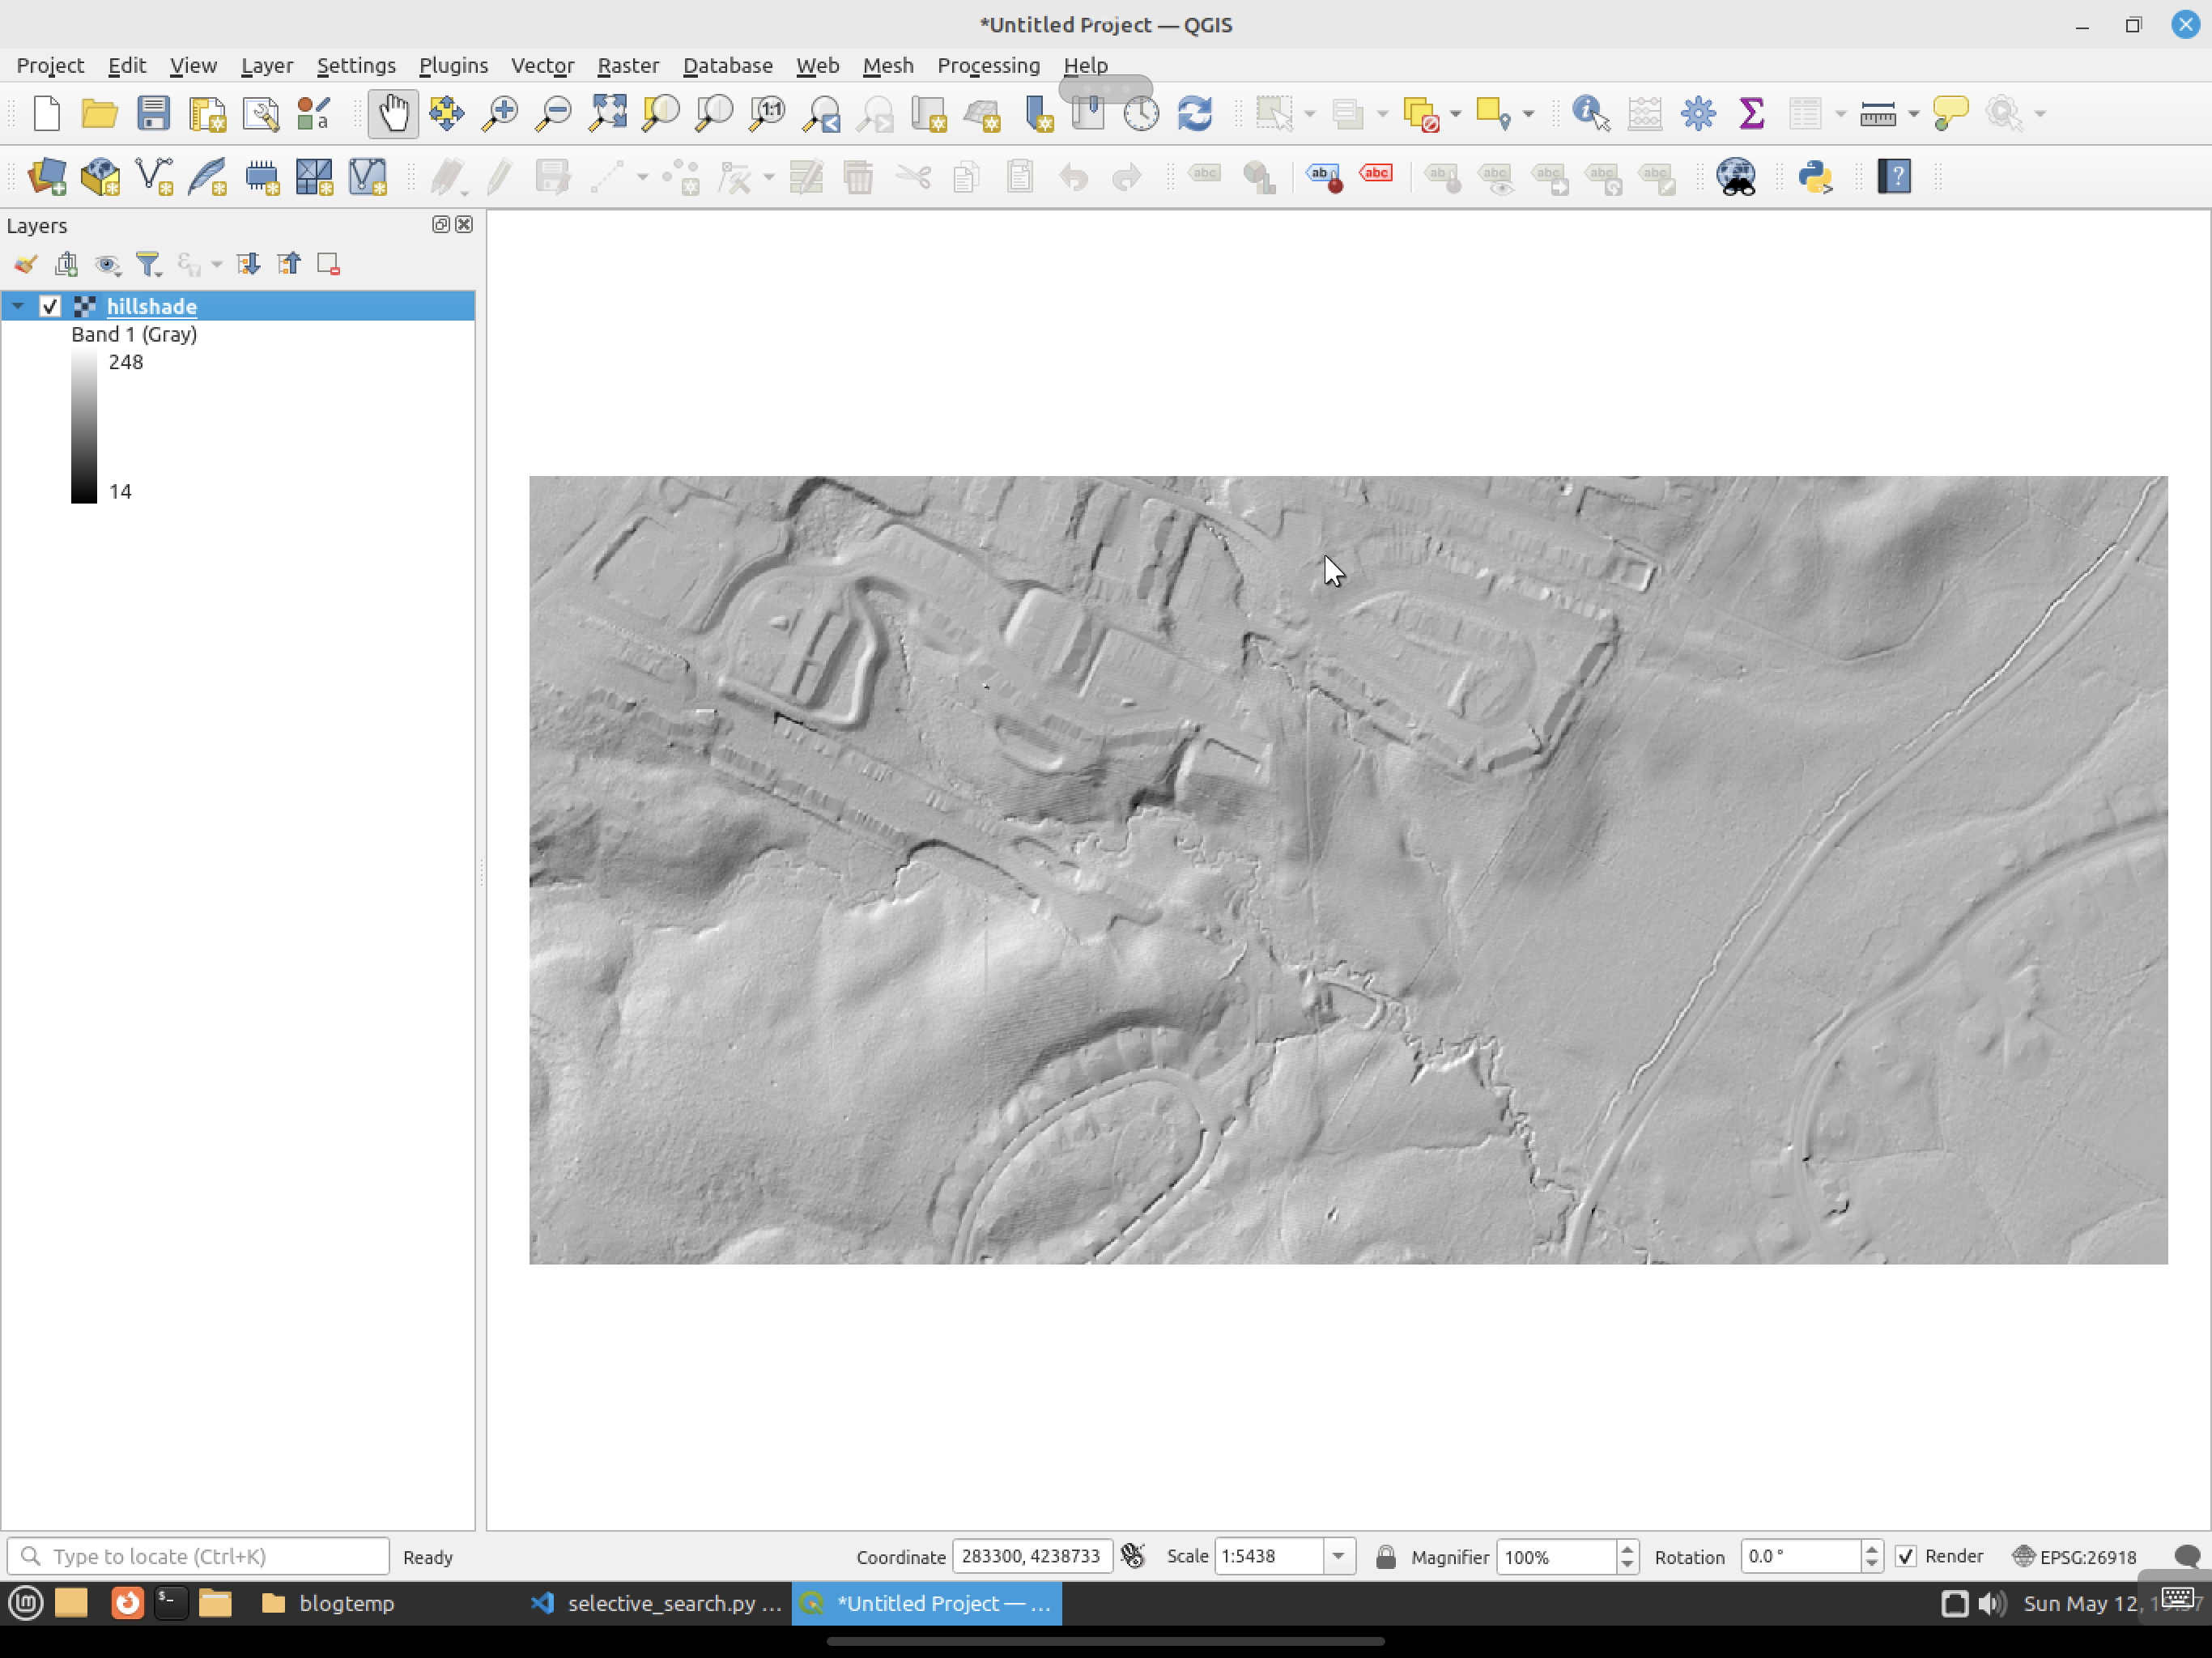
You can see that the hill shade version makes it easier for a human to pick out features versus the original. It is easier to spot creeks and the flat areas where buildings are. Now let us see how selective search handles this file.
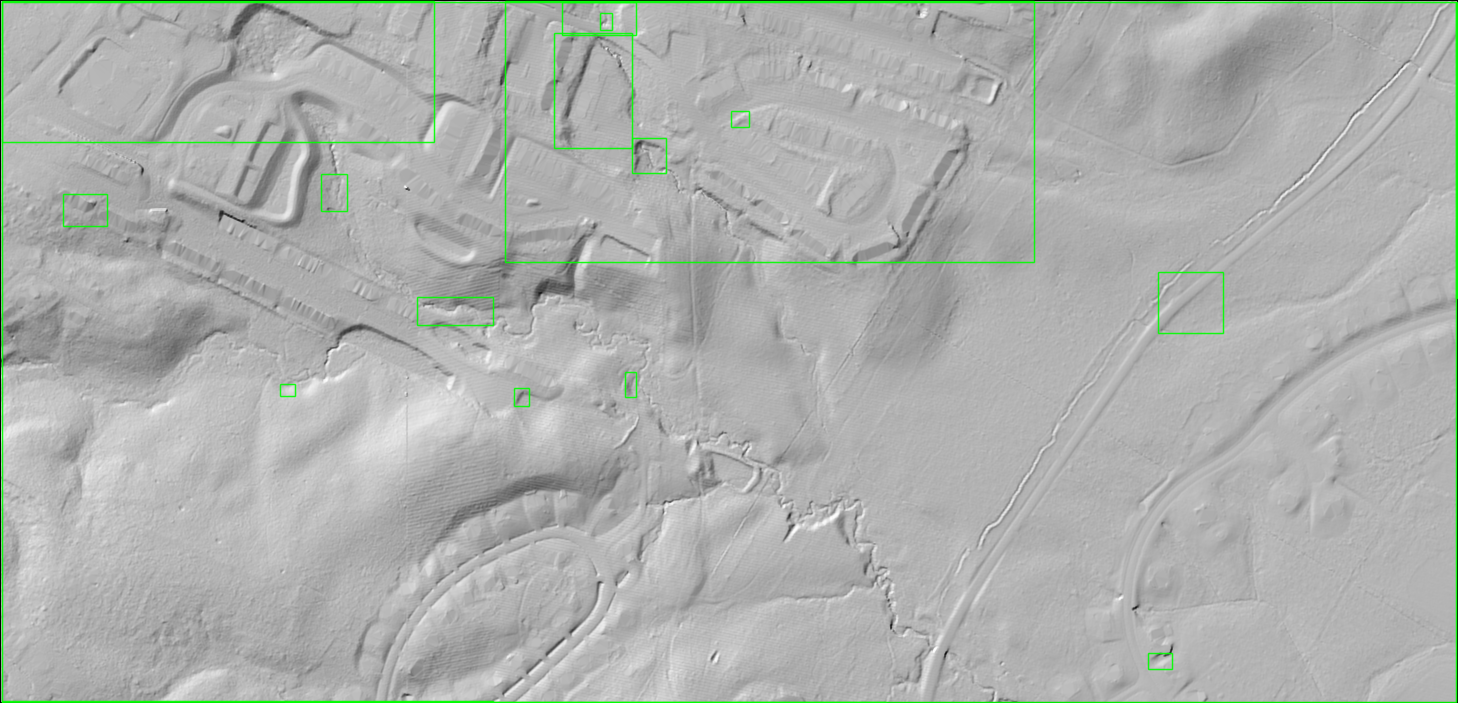
It did somewhat better. It identified several of the areas where houses are located, but it still missed all of the others. It also did not pick up on the creeks that run through the area.
Why Did It Not Work So Well?
Now the question you might have is “Why did selective search do so badly in all of the images?” Well, this type of segmentation is not actually what we would define as object detection today. It’s more an image processing operation that builds on techniques that have been around for decades that make use of pixel features to identify areas.
Early segmentation methods that led to selective search typically did the following:
- Thresholding: Thresholding segments images based on pixel intensity values. This could be a global threshold applied across the entire image or adaptive thresholds that vary over different sized image regions.
- Edge Detection: Edge detectors work by identifying boundaries of objects based on discontinuities in pixel intensities, which often correspond to edges. Some include a pass to try to connect edges to better identify objects.
- Region Growing: This method starts with seed points and “grows” regions by appending neighboring pixels that have similar properties, such as color or texture.
- Watershed Algorithm: The watershed algorithm treats the image’s intensity values as a topographic surface, where light areas are high and dark areas are low. “Flooding” the surface from the lowest points segments the image into regions separated by watershed lines.
Selective search came about as a hybrid approach that combined computer vision-based segmentation with strategies to group things together. Some of these were similarity measures such as color, texture, size, and fill to merge regions together iteratively. It then introduced a hierarchical grouping that built segments at multiple scales to try to better capture objects in an image.
These techniques do still have their uses. For example, they can quickly find objects on things like conveyor belts in a manufacturing setting, where the object stands out against a uniform background. However, they tend to fail when an image is “complicated”, like LiDAR as an example or a white goose that does not easily stand out against the background. And honestly, they are not really made to work with complex images, especially with LiDAR. These use cases require something more complex than traditional segmentation.
This is way longer now than I expected, so I think I will wrap this up here. Next time I will talk about another computer vision technique to identify areas of an interest in an image, specifically, image saliency.